Mitutoyo Corporation
The clear and uncompromising goal to provide the best quality product and value available anywhere has driven Mitutoyo, from humble beginnings in 1934, to become the premier supplier of metrology equipment in the world.
Including development, production and sales the company operates in more than 100 countries. In Japan alone, Mitutoyo operates two development sites,10 production facilities, two metrology institutes, five calibration laboratories, seven service centres and seven M³ Solution Centers in addition to the Kawasaki headquarters and sales offices.
Internationally, the Mitutoyo Group has a major presence in almost 40 countries, maintaining more than 80 branch offices and national distributor networks, 65 M³ Solution Centers, 17 production sites, six research and development laboratories, 12 metrological institutes and 20 calibration laboratories. Additionally, there are Mitutoyo representatives in approximately 60 other countries.
This extensive worldwide infrastructure means that our customers enjoy the assurance of local support and worldwide technical advice and logistical backup to keep their vital measuring equipment in effective and profitable operation with the minimum of downtime, wherever they are. This is especially important for our multinational customers who need the same level of support for their partners and suppliers in foreign countries as they receive from Mitutoyo themselves.
THE PAST
Mitutoyo's history began with the establishment of a research center with the aim of producing Japan's first micrometers in Tokyo's Kamata district by Yehan Numata in 1934.
The founder of Mitutoyo Corporation was born on April 12, 1896, in Hiroshima prefecture in Japan. He was born into a Buddhist priest's family as the sixth of eight children. His family lineage had been Buddhist priests since the 16th century.
Numata left Japan for Los Angeles/USA and learned English. He was accepted into the University of California, Berkley, where he majored in statistics and received a degree in economics.
In 1934, meanwhile returned to the Empire of the Rising Sun, he rented a little office near Tokyo to produce a prototype Micrometer.
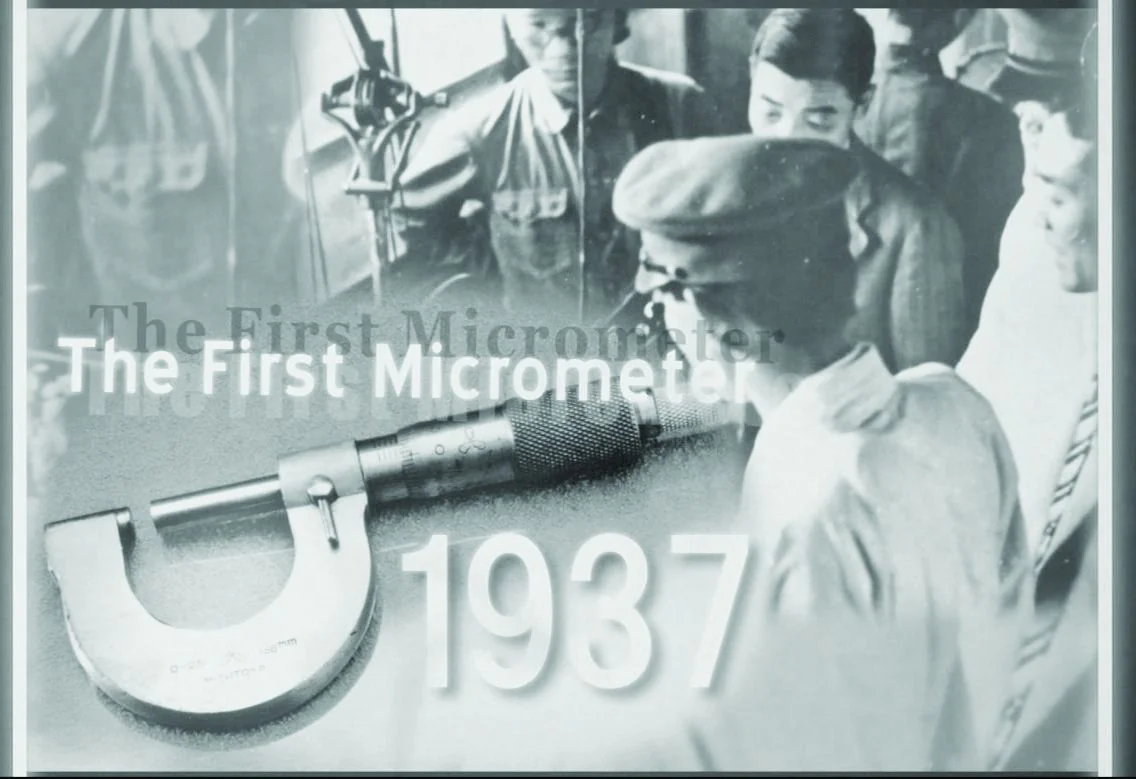
The first production run was 100, but only 17 were released
It was James Watt (1736-1819) of Scotland who first employed the principles of screw threads to measure the plate thickness of his steam engines, but the modern micrometer was invented by the French engineer Pièrre Palmer in 1846. His screw threads featured a 1 mm pitch and the smallest reading was 0.05 mm, but it contained every element to be a modern micrometer.
The sole objective of Mitutoyo Corporation when founded in 1934 was to produce micrometers.
It was, however, extremely difficult to cut 0.5 mm fine threads, and it took them three long years of trials and errors to produce the first lot of 100. Yet only 17 passed the test, and 83 were rejected. A bittersweet moment for them, but those rejected ones were buried under the shop floor.
Mitutoyo Worldwide
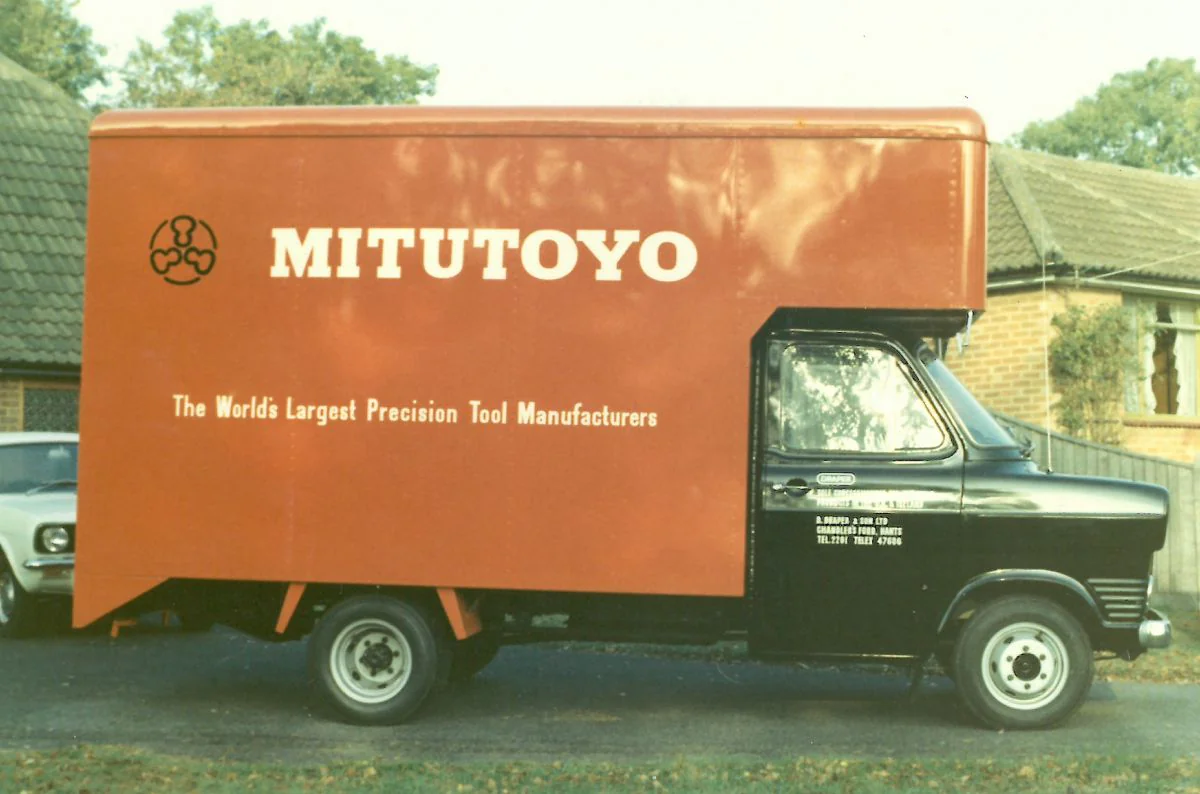
In the years and decades to follow the micrometers vastly gained quality and accuracy. Plus, more handled measuring instruments were added to the portfolio: Vernier and Dial Calipers, depth and inside micrometers, height gauges, and many more. Mitutoyo instruments soon managed the great "jump" over the Pacific to North America, where the first overseas department was founded in the year 1963.
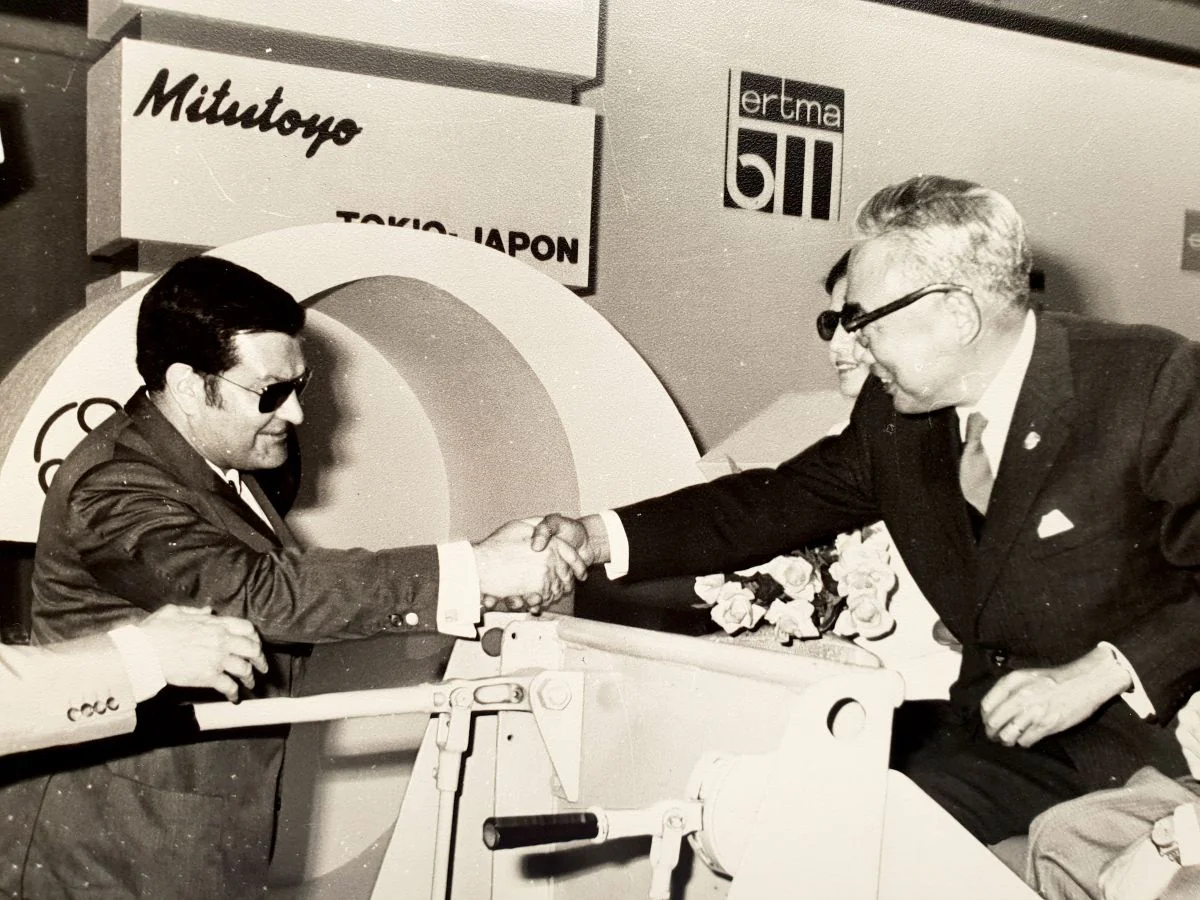
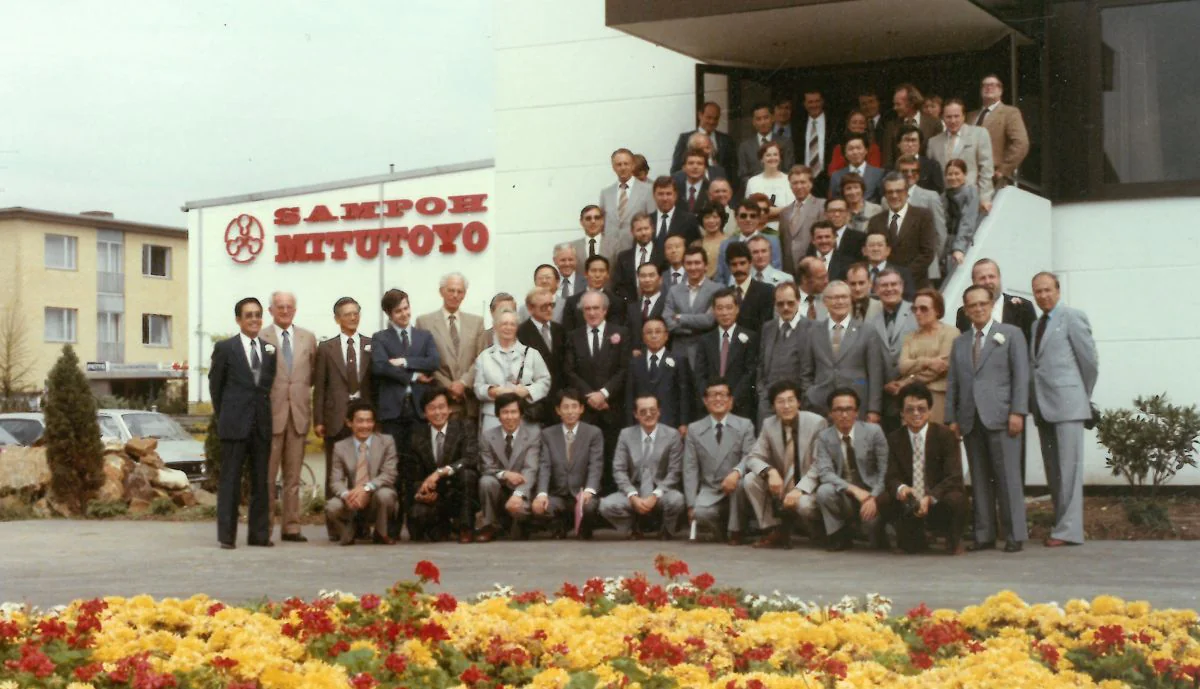
At the time, Yehan's son, Yoshiteru, visited the two European dealers in Great Britain (Draper) and the Netherlands (Hoekstra) and already had plans to establish a European headquarters in Germany. On a second visit, he met Bern Schrader, the owner of Sartorius Nachf, who later became an exclusive agent in Germany, an equal partner (Sartorius Mitutoyo), and one of the most important distributors.
In 1965 a Mr. Nakajima showed up in Schrader's office, bringing along a sliding caliper, a micrometer, an indicator, and a height gauge made by Mitutoyo - at the time an obscure company with a tongue-twisting name. Schrader and his team liked the quality of the instruments and saw a chance to introduce the instruments on the extremely conservative German market.
In those days, Japanese products were somewhat exotic and the significantly different way in which they were presented at trade fairs called the domestic competitors into action. Some of them threatened the organizers of trade fairs with boycotts if Mitutoyo was further allowed to present their products. With the converse effect: This made potential customers all the more interested in the new marque. And they would soon find out about the extraordinary product quality at fair prices.
The Future
Mitutoyo has always been at the fore when it comes to developing sophisticated, highly innovative measuring equipment, bespoke solutions, in-line and multi-sensor measuring, and trendsetting innovations. The future of precision measurements, as defined by Mitutoyo, lies in innovative software solutions that bring out the full potential of hardware for making measurements. The Internet of Things (IoT) connects a variety of machines to the network, enabling production processes to be continuously monitored in real-time. On-site digitization, automation, and virtualization boost work efficiency. It's the start of Industry 4.0, an industrial revolution making full use of IT. At smart factories, real-time data acquired through internetworking is used to maintain optimal operations of both, machines and personnel, at all times. Initiatives are underway to make optimal operations of both, machines and personnel, at all times.
Initiatives are underway to make efficient use of industrial equipment by cutting costs, and streamlining and optimizing work. In terms of measurements, it has become necessary to manage a variety of data due to the growing importance of quality control, the diversification of targeted products, and the speeding up of product life cycles. However, the accumulation and sharing of knowledge have become a problem due to the lack of on-site personnel available to take measurements. Conventional production processes often involved optimization of design and quality control on an individual factory basis.
Production processes that Mitutoyo envisions for the future will not involve partial optimization on an individual factory basis but will aim to boost production efficiency through integrated management and overall optimization based on mutual exchanges of data between those in charge of design and quality control, and the factories. Innovative solutions like the Mitutoyo MeasureLink software create a database by connecting all measured data in the factory via the network. The administrator carries out centralized monitoring of information from all network data collection terminals.
It provides a powerful backup system in examining problems, by confirming and carrying out various statistical analyses on the results of measurements. It realized integrated management allowing administrators, on-site people involved in manufacturing, and the inspection room to check any information any time they want.
Message from the President
I would like to start by thanking you wholeheartedly for using Mitutoyo products. Since its establishment in 1934, Mitutoyo has been offering measuring tools such as micrometers and calipers, and system instrument products such as coordinate measuring instruments, form measurement instruments, and optical measuring instruments, to markets around the world under the motto of “Quality First”, and the company’s products have since then been in demand and used by customers everywhere.
In recent years, we have not only pursued the development of nanotechnology but also responded to the diversifying needs of industry and cooperated in the promotion of IoT and automated technologies. With the measurement technologies we have built up over many years, we actively provide solutions to improve our customers’ productivity.
Mitutoyo will continue in its role as a world-leading company devoted to the untiring pursuit of leading technologies, providing not just measuring tools but also measurement-related technologies.
We look forward to your guidance and support as we work.
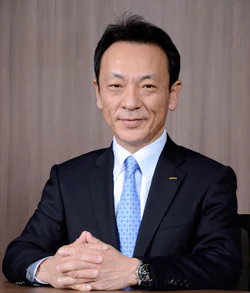
President Yoshiaki Numata
