Choose your language

AEROSPACE


There are several important aspects to look at when it comes to inspecting different parts of vehicles and equipment in the aerospace industry. Similar to how different parts playing their own role in how the final machine operates and functions, various types of quality control are needed depending on what is needed.


Regardless of the quality resulting by skilled work, there are things such as operating safety, lifetime, and overall cost that can be observed and improved during the manufacturing process. 


Need more information?

Please get in touch

Contact us to find out more about Mitotoy's Quality assurance in the Aerospace Industry


cONTACT US


Common Parts Passing Through Quality Assurance in the Aerospace Industry 
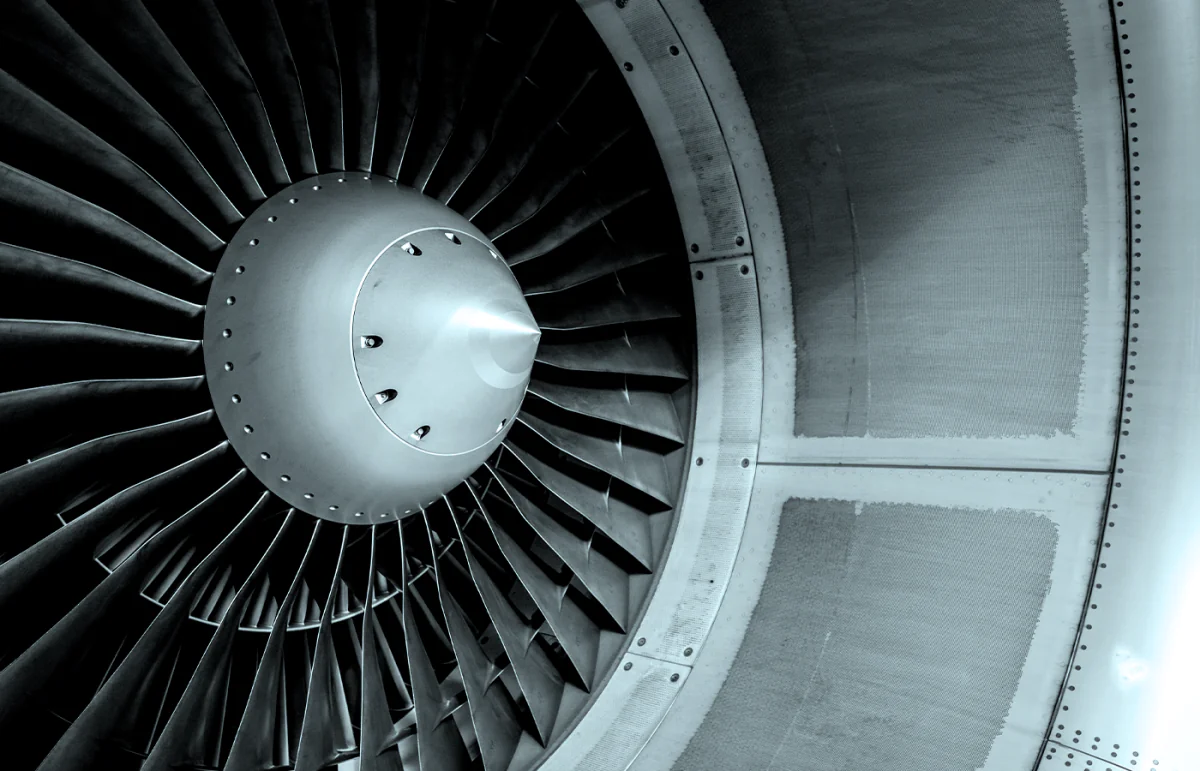
Turbine Blade Measurement
Aerospace-Turbine-Image.png

An aerofoil that is mounted on a turbine disc as a key component to an aerospace vehicle’s propulsion system. 


In order to have an efficient engine, there are certain things that need to be inspected on the blades so that they can fulfill their purpose optimally. The surface and the blade profile are those that are most often inspected.


Quality Control Techniques
Aerospace_Blade Profile Measurement.svg
Blade Profile Measurement

Dimensional measurement of an aero foil is something that is regularly
performed at aircraft manufacturing facilities. In order to make sure that things such as length, thickness, and camber are all within spec, most commonly a CMM is used with specialized software such as MAFIS Express. This fulfills the need for accurate and quick measurements as turbine blades and blisks are produced in large quantities.

Aerospace_Blade Surface Inspection.svg
Blade Surface Inspection

As the surfaces of these aerofoil play a key role in their ability to perform their task, it is crucial that they have no defects. The quickest way to observe defects on any surface is through non-contact inspection paired with AI software that is taught exactly what to look for, such as the ROBOTAG. This can be anything from unexpected cracks or chips during the manufacturing process.


Aerospace-Bearing-Image.png

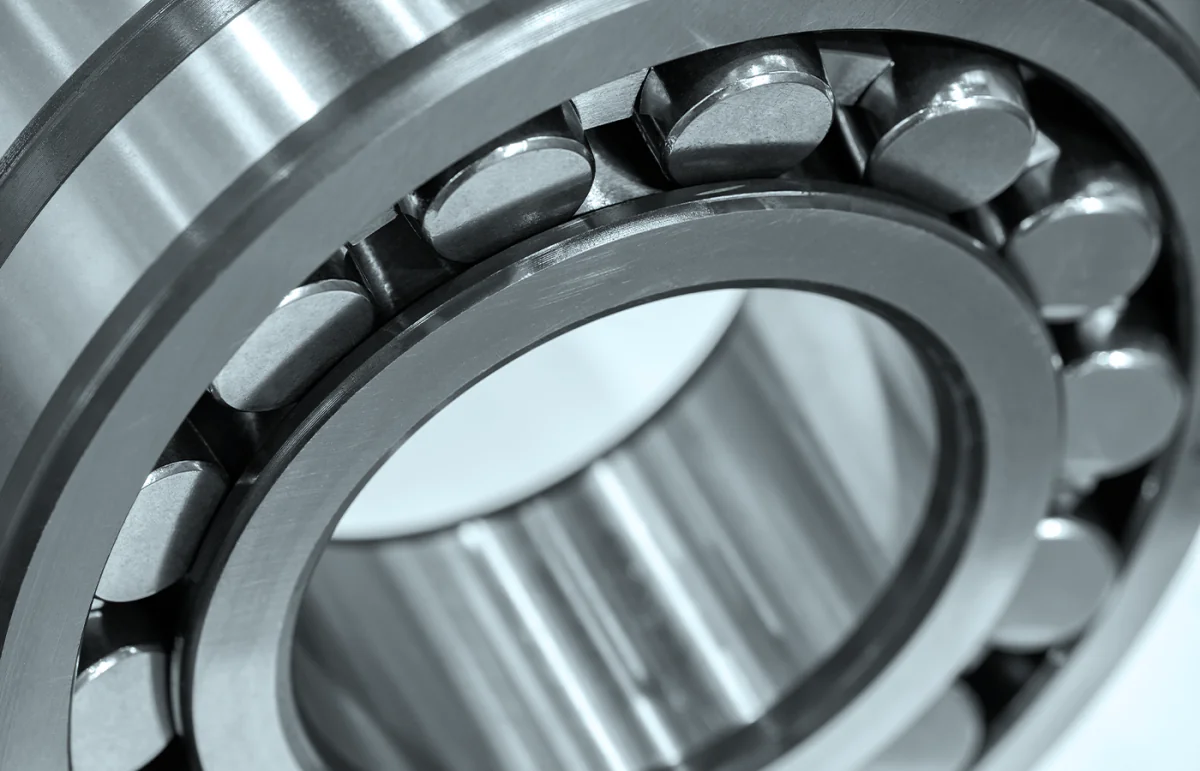
Bearings


At the foundation of what makes most spinning devices work, ball bearings play an essential role no matter what they are implemented in.


Because of how important the role that these bearings have, it makes quality assurance for them all that more critical. 


Quality Control Techniques
Aerospace_Roundness Testing.svg
Roundness Testing

The most important element to consider when producing bearings is the roundness of the components inside. Key measurements that can be performed when testing roundness are alignment, concentricity, and perpendicularity, making devices such as the Roundtracer Extreme so useful.

Aerospace_Surface Roughness.svg
Surface Roughness

Depending on the roughness of the components that make up bearings, different roughness profiles are required. These can be observed with a variety of surface roughness testers throughout production based on the requirements.

Aerospace_Hardness Testing.svg
Hardness Testing

Determined by the purpose of the bearing, the various elements used can be created from different materials. To ensure consistency throughout these materials, hardness testers like the HR-600 can test an assortment of material types such as, metals, plastics, composites, etc.


Aerospace-Sheet-Metal-Part-CMM-Image.png

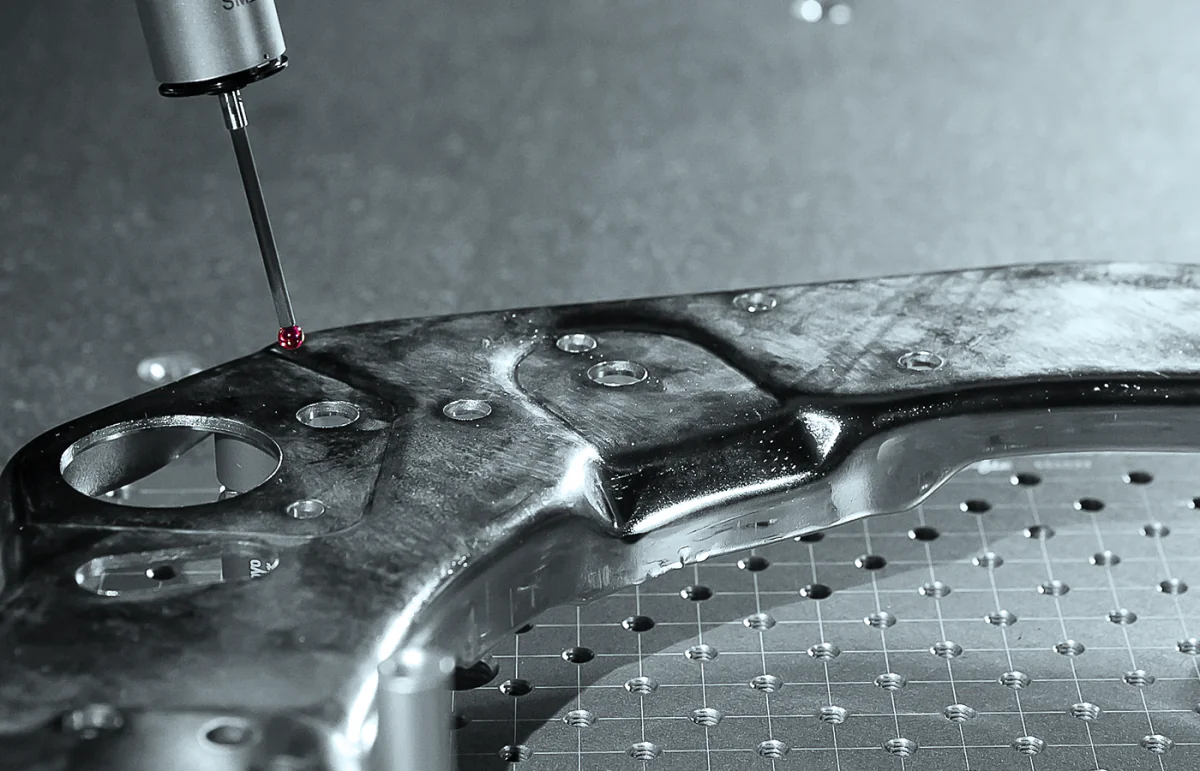
Sheet Metal Parts


These parts usually made from ductile metals are what often give various items in the aerospace industry, their external shape in the form of housing, chassis, exoskeleton, etc.


Done through the manufacturing process of hydroforming, there are several things to look at to ensure they are produced correctly.


This can be anything from typical dimensional measuring methods to contour and surface roughness. 

Quality Control Techniques
Aerospace_Dimensional Measurement.svg
Dimensional Measurement

Sheet metal parts for the aerospace industry are usually quite large when compared to other workpieces passing through quality control, because of this many producers look for a larger CMM. Often the larger models of the Crysta or Strato Apex series are sought after for this purpose, ensuring that these robust sheet metal parts can fit no matter what.


Aerospace-CNC-Aluminium-Part-II-Image.png

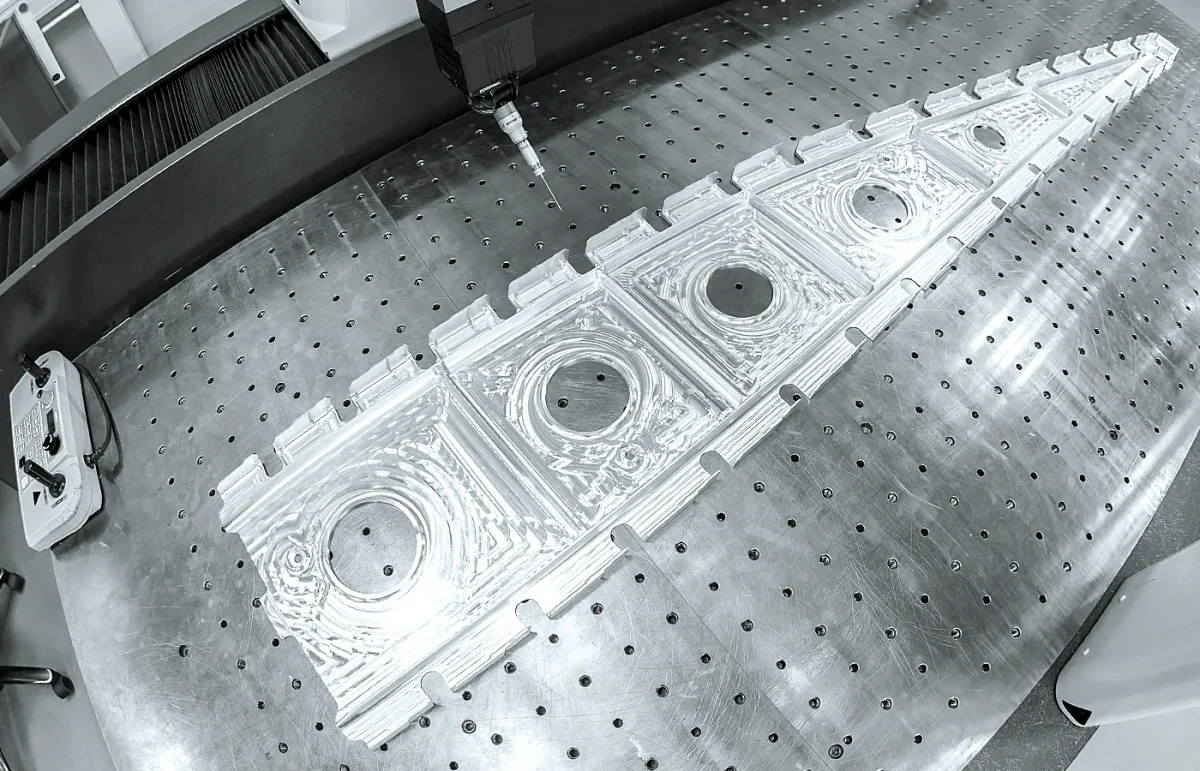
Aluminium Parts

Used throughout the entirety of aerospace vehicles, aluminum parts are milled or cast to particular shapes due to how easy it is to work with as well as its light weight. In order to make sure the parts are being made correctly throughout the manufacturing process, most fabs utilize the high accuracy of coordinate measuring machines.


This is can be performed in a measuring lab with machines like the Crysta Apex V and even on the production line with a shopfloor CMM such as a MiSTAR 555. 


Quality Control Techniques

Aerospace_Dimensional Measurement.svg
Dimensional Measurement

To ensure that the size and shape of milled or cast metal parts is up to specification, there is no better machine than a CMM. For the most precise and accurate measurements, touch and scanning probes are regularly used for this purpose.


Would you like to learn more about the possibilities for quality assurance in your company?


Contact us and we will be happy to help you!


Find your contact person here